

So this is my miniature Christmas village this year. It is literally filling me with so much joy that I’ve decided I must do a Spring village too (and then maybe one for every season…said in a whisper behind my hand). I bought these houses which are really only 3-4″ tall from Walmart – they are mixed in with the regular village size. I got all of the figurines at Rite aid and stuck with everything that looked small. The trees were from Walmart and seemed to go with the little houses, too.
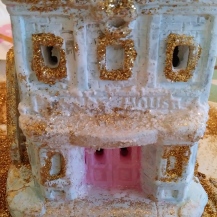
Of course, the original coloring of the villages was dissatisfying for me; I like a glistening, pastel and snowy white village. So, I improvised and bought up some inspiring materials to work with to change the look. Firstly, I painted the houses white!
Some were gold from an old attempt to make a village I loved. It failed, but not this year!!! I covered them with a few layers of white to get rid of the regular village look. The gold underneath gave some of the houses a nice soft baby blue color; I went with it.
Next, while the last layer of white is wet, let it snow with glistening snow (buy everything with iridescence, my fav), be sure to get the snow just where it would fall on the roof tops and windows, etc.
Next, Mod Podge the window frames, rooftop, stairs, wreaths and other details at will, with a tiny paint brush to be more precise. The goal here is to cover just those areas with gold glitter to highlight them. If it’s messy you will be cleaning it up with a paper towel for a long time. I did, and I will go slower with my next house. I have six more to do. So Mod Podge and then sprinkle tons of golden glitter over the whole house. Shake it off onto a piece of paper so you can keep the leftover glitter. Make sure you like where the glitter is falling and clean it up or add more.
If you can’t get rid of golden details, then let them dry and then surely cover with white paint and you should be good. I had to do this with the pink door, since it was messy. Use firm small brushes and take your time. I was videotaping this while painting so needless to say it was reckless.
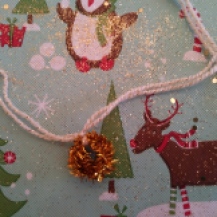
The second to last detail for the house is mounting a miniature wreath on the doors and windows. I made this with pipe cleaners in iridescent white, opaque white, pink and gold. I also wrapped some with a golden and cream yarn. My dream wreath would be embellished with tiny seed pearls but I didn’t have any. Or teeny tiny sparkly beads. Hot glue the wreath where you want it.


Then drop your snowstorms worth of glistening snow until the under layers of snow blanket is covered completely with real looking snow piles. This pile-up should fall on the rooftops and stairs!
![1128171059[1]](https://willowandwonder.files.wordpress.com/2017/02/11281710591.jpg?w=663)
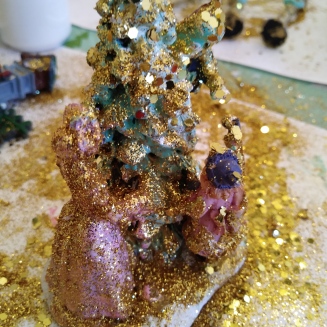
Now that the houses are done you can focus on the figurines and lampposts. I painted everything with a quick layer or gold, letting some of the old color show through a bit. Then gave everything a light sprinkling of small and larger specks golden glitter. Then I painted the wreaths a minty turquoise color on the lamp posts and trees. I used a lot of white on the trees for snow and covered them with turquoise and large specks of glitter. The figurines, I covered mainly with gold leaving faces and some colors on their clothing to just barely cover with pink and turquoise. Then I sprinkled tons of glitter on top. I wanted everything to be cohesive and have the same color palate going on.

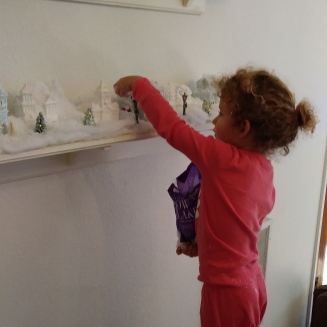
That’s a rap! Just have fun with it. Remember to keep coming up with fun innovative ideas along the way. Oh, wait the most important part is putting this up with your children and letting them get involved. I had willow put all the snow up and the trees just like she did with her Grammy’s special collector’s village. I wanted her to do it at home, too.

I gave her a bag of snow and just let her go wild and then added some really sparkly snow later to fully cover all of the cracks and lines showing. Take it to another level over time by adding darling signage, an ice-skating rink on an oval simple mirror from Michael’s and add ice skater figurines, Mod Podge a picket fence and hit it with glitter or make one pink. I’m sure I will be posting many different versions and ideas regarding this so stay-tuned. Share your work in the comments section, please!!! With sugar on top!!!
Let it snow, let it snow, let it snow!


One thought on “DIY Mini Glistening Christmas Village – Tis the season to be creative!”